The dreaded "hockey smell"
Cleanliness fundamentals for players & parents
When I was an assistant coach with the AHL’s Toronto Marlies, colleague Rob Davison’s son did his high school science project on the dreaded hockey smell. He took a cotton swab to his gear after a minor hockey game and, after analysis, found a number of nasty microscopic critters, including the bacteria responsible for staph infections.
Looking back, I don’t know how I survived high school hockey with all my limbs intact. Due to limited space at our home rink, players weren’t able to hang their gear up to dry after on-ice sessions. Consequently our bags lived in a tiny storage room with our gear permanently marinating in a disgusting cocktail of sweat, skin particles and worse. Anyone who played with me in those days likely remember my bag’s extensive smell more than my limited talents.
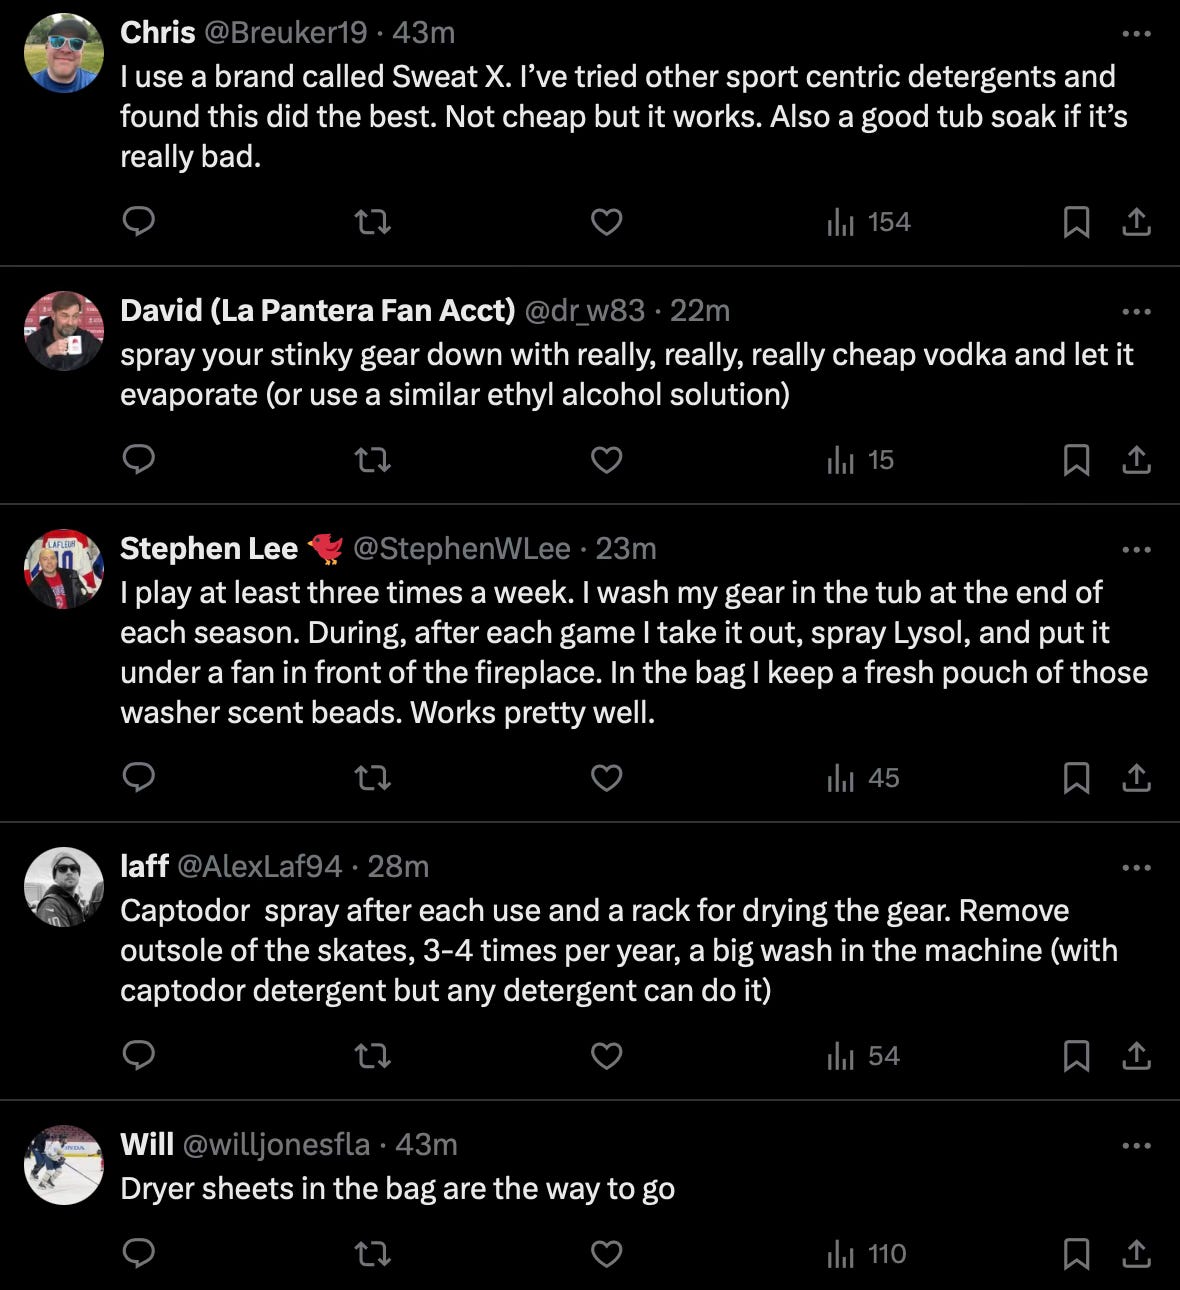
After having a random flashback just now, I decided to ask Twitter followers about their top tips against hockey smell.
Here are some of the best answers, as confirmed by my experiences as a (far more conscientious) beer league player.
1. Dry it out
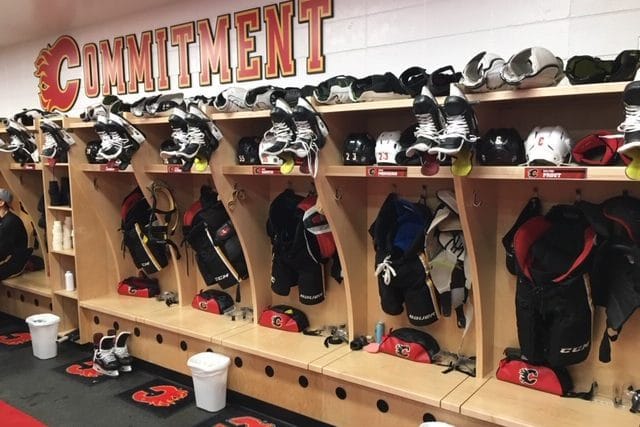
There is no substitute for hanging your gear up and drying it out after use.
After a practice or game, professional equipment managers make sure that their players’ stalls look like the image above, then set up a number of industrial-strength fans to accelerate the airflow through the room. Even without chemical aids or deep cleaning, the smell inside a pro locker room is more of a light musk than a full-blown assault on the senses.
The biggest challenge for many hockey parents and recreation players, then, is space. If you live in an apartment without a spare room, as my family did when I was growing up, preventing hockey smell will always be an uphill battle.
2. Use chemicals
Several Twitter respondents suggested using home-made (water + alcohol or vinegar) or commercially-available cocktails to kill smell-causing bacterias.
The problem with most of these solutions, aside from dryer sheets, is that they will initially make your gear wetter. Remember that humidity = bacterial growth = smell. Consequently, sprays should be used in conjunction with, rather than instead of, drying techniques.
3. Deep cleaning
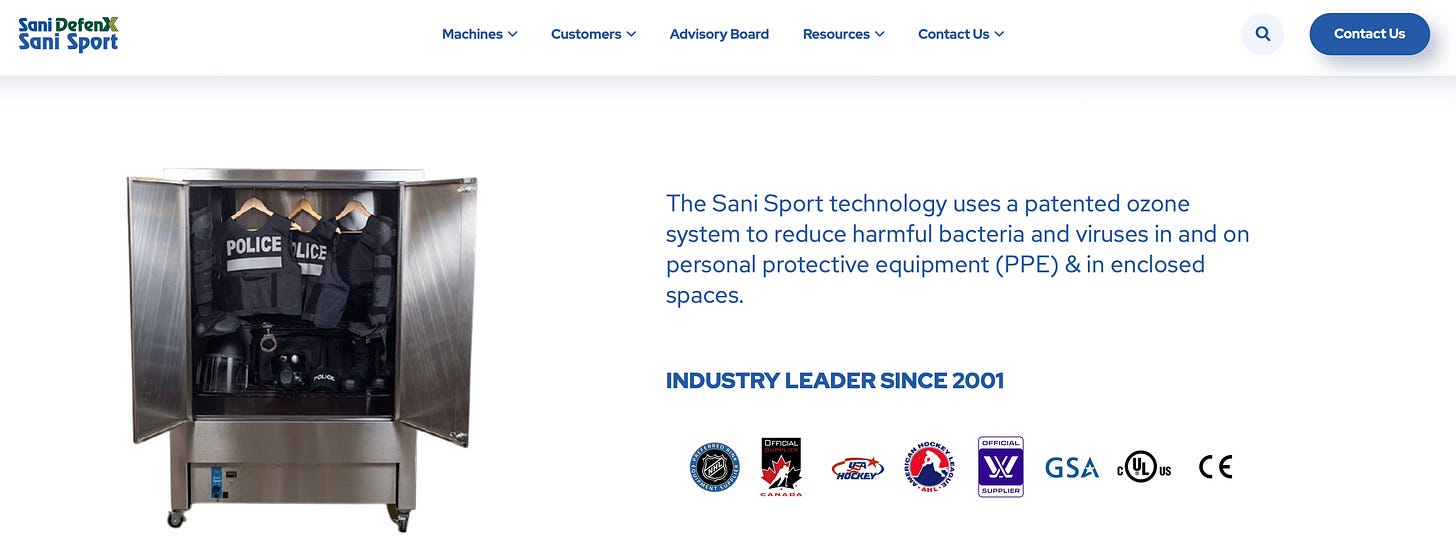
Smell-causing bacterias can be tough to evict after they move into fabrics and crevasses. It can be a good idea to track down a local shop with specialized equipment such as the Sani Sport machine pictured below. These machines may use ozone or steam - be sure to ask which as to not damage your helmet and skates.
Without diligent drying and some chemical aid, deep-cleaning’s positive effects will be relatively short-lived. However it can be a life-saver when used as a shock treatment a few times per season.
Home-based solutions involve soaking dirty protect gear in warm water with soap, vinegar, alcohol or sodium percarbonate (aka OxyClean). Again, the main battle will be drying everything out as quickly as possible after the soak.
4. Personal hygiene
Minimizing germs = reducing smell.
Gloves tend to be the smelliest contents of an equipment bag. One of the most underrated tips I’ve gotten against that problem is also the simplest: wash your hand before and after hockey.
I’m not comfortable with taking a full shower before hockey, but now I make sure to wash my hands and face with soap before putting my gear on, while wearing a fresh shirt, underwear and socks to minimize the quantity of germs I’m transferring onto my gear even before stepping onto the ice.


